NEW SITE LAUNCHING SOON!

DIY Stencil Floor Tile
Get the look of expensive tiles for a fraction of the cost.
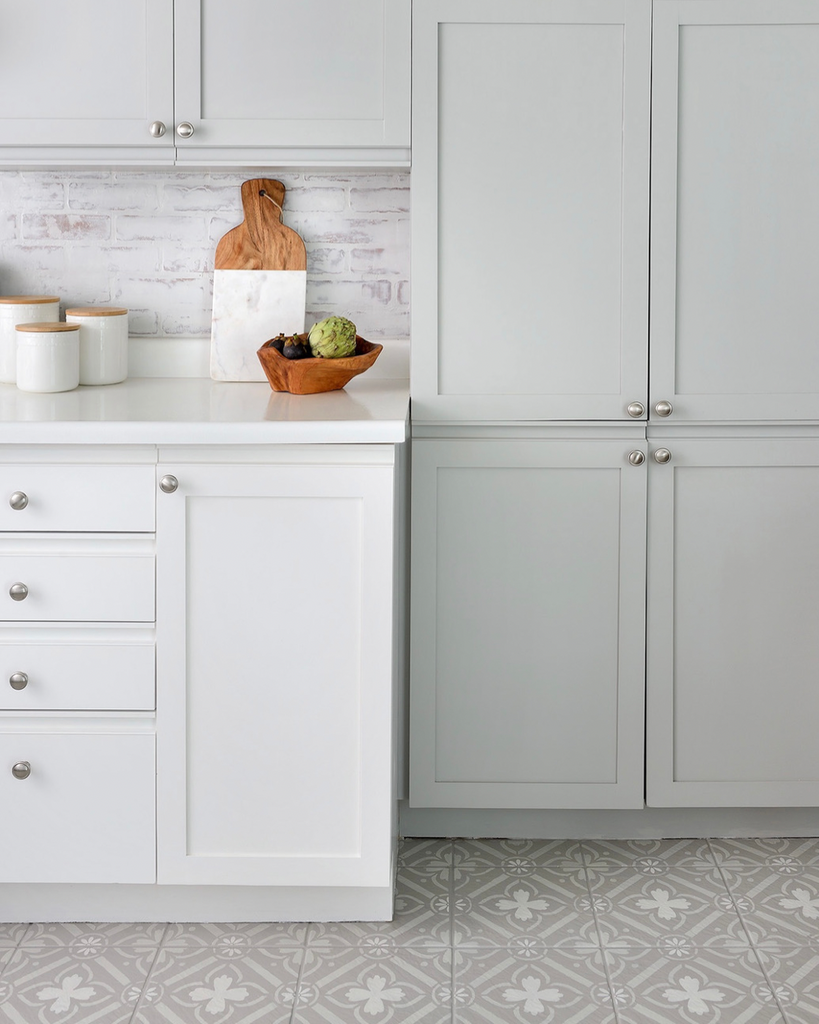
BEFORE

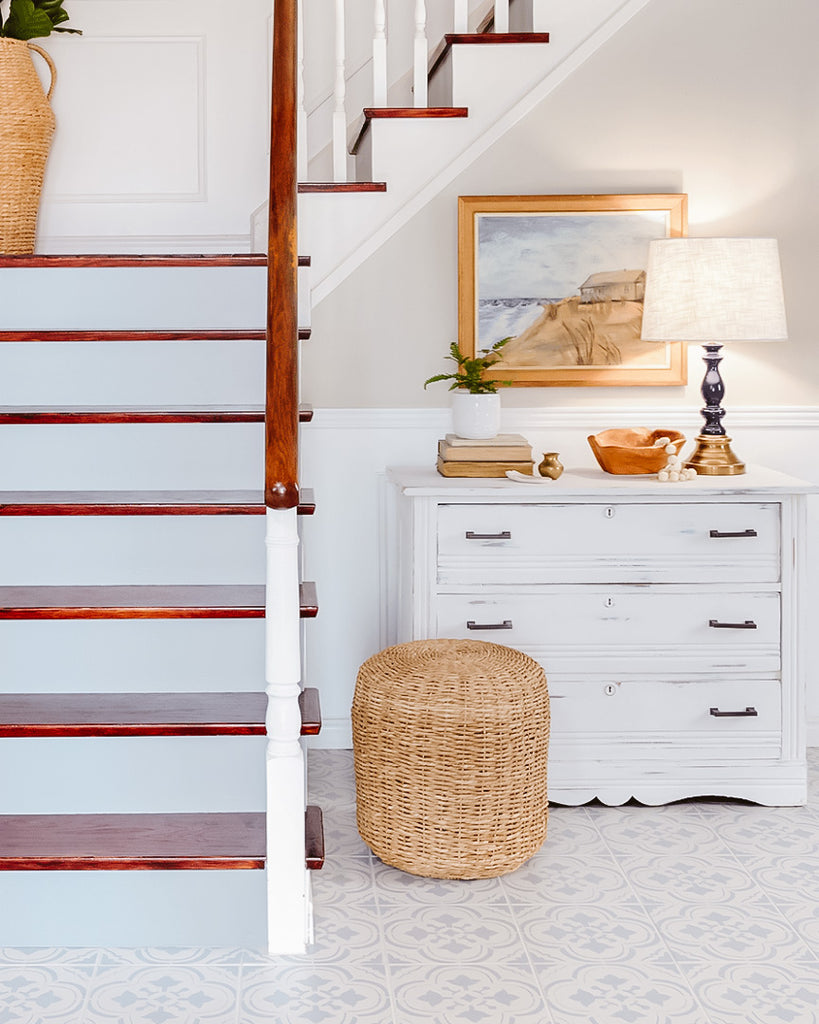
AFTER

*If you have already followed the steps to clean and base-coat your floors with Rust-Oleum Home Tile How-to, you are ready to add a custom tile look.
- Take your stencil outside or to a well-ventilated area, and add a light spray of low-tack spray adhesive to the back. Allow the adhesive to dry for about 5 minutes until the finish is tacky to the touch (like a post-it note).
- While the stencil is drying, thoroughly stir the Rust-Oleum Home base-coat paint that you’ll be using for the stencil and then add it to a paint tray.
- Place the stencil on the floor and add a few pieces of painter’s tape to the corners to help position it in place.
- Load your high-density foam roller with a small amount of paint (just enough to cover all sides of the roller), and then roll it onto a piece of paper towel to “off-load” any excess paint. It’s much easier to add more paint when needed, and less paint will prevent bleeding under the stencil and help to create crisp lines.
- Using light pressure, apply the roller over the stencil and roll in various directions until the stencil pattern is completely covered with paint.
- Gently peel back the vinyl stencil to reveal the completed pattern on the floor, and continue application in a checkerboard pattern to ensure you aren’t overlapping the stencil on any freshly painted areas.
- Re-apply low-tack spray adhesive to the back of the stencil as per the directions in step 1 as needed throughout the project.
- The stencil paint will dry to the touch in 1-2 hours, at which time you can go back and fill in the un-stenciled areas. (Tip: Wear socks and walk gently on the surface).
- It is easiest if you leave the perimeter tiles until last, and in areas where a full stencil is not required, use a long metal trowel or ruler to bend the vinyl at a 90-degree angle into the edge where the floor meets the wall and paint to the bottom of the baseboard.
- Once you’ve applied your final stencil (YAY), allow to dry for 2 hours before applying the protective top-coat.
Continue reading


Comments
Be the first to comment.