DIY Cabinet Transformation
What do you do when there isn’t room in the kitchen cabinet budget to replace them? You reface them!
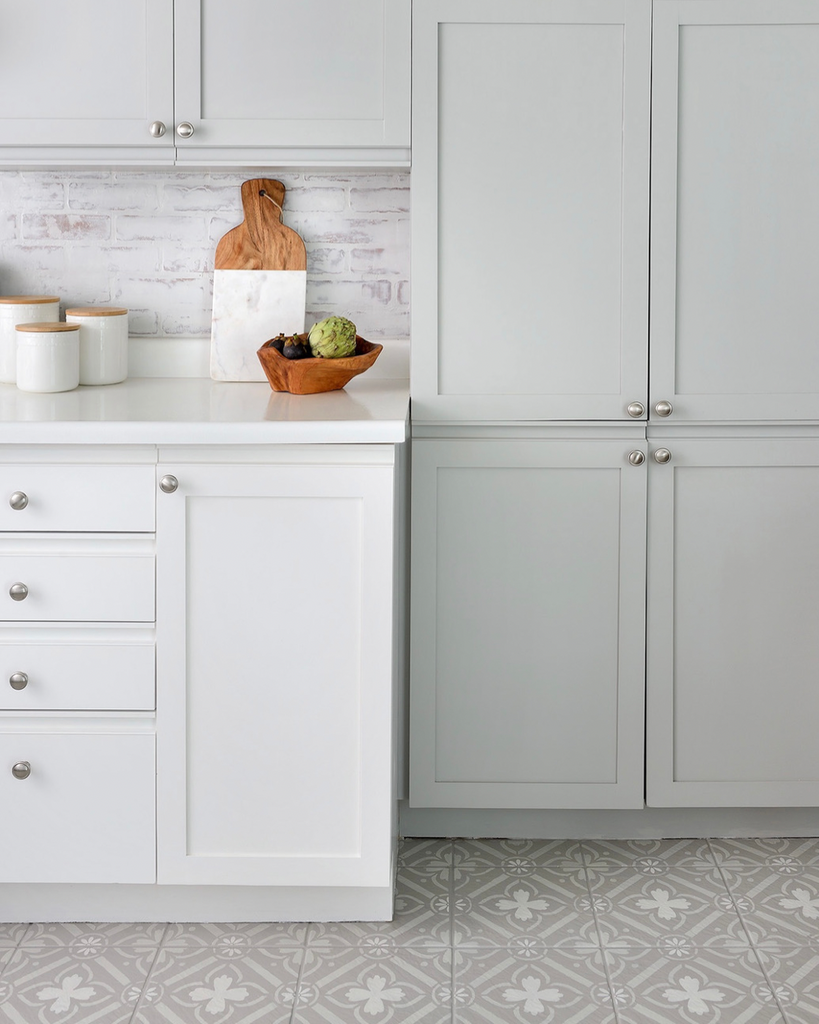
And that’s exactly what I did to these boring slab melamine doors!
Before

After


For only a few hundred dollars, I used MDF to create a simple shaker profile and then I painted the cabinets using Rust-Oleum’s Cabinet Transformations Kit tinted to a gorgeous warm grey called “Winter Fog”.
Watch the video tutorial HERE!
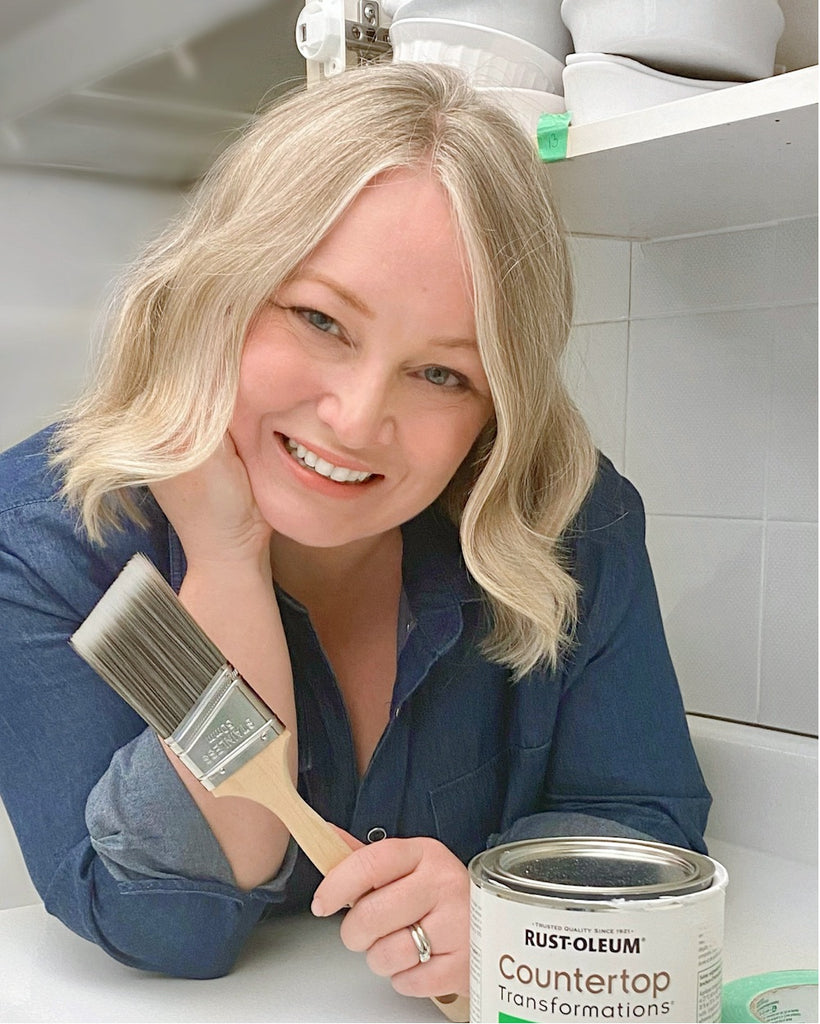
The Cabinet Transformations Kits come in a light or dark tint base, and here’s what’s included:
- Deglosser (which is magic in a bottle)
- Bond Coat (tinted to “Winter Fog”, but there’s a selection of other colours to choose from)
- Protective Top Coat
- Decorative Glaze (I didn’t use this)
- Cloths
- Scrub Pads
- Stir Sticks
- Instruction Booklet

Additional painting materials required:
- Two 2” synthetic paint brushed (invest in good quality ones, trust me)
- Drop cloth
- Disposable gloves
- Lint-free rags
- Paint tray
- Painter’s tape
For step-by-step painting instructions, keep scrolling below…
I added trim detail to create a shaker profile on the slab door fronts, and here are the materials that I used:
- 2” MDF trim (I couldn’t find affordable wood trim, so I decided to use 4’x 4’ sheets of 1/4” MDF and I asked the home improvement store to cut them into 2” strips on their giant fancy-shmancy saw. They charged me $1 per cut, and it was the best $18 I spent to ensure all the pieces were the exact same size, not to mention the amount of time I saved by not having to cut them myself on my table saw)
- Construction adhesive
- Clamps
- Pin nailer and 23 gauge 1/2” pin nails
- Bulls Eye 1-2-3 Primer
- Varathane wood filler
- Med/ Fine grit Gator sanding sponge

How-To Instructions
1. Project Prep
For best results, take the cabinet doors off the hinges and remove drawer fronts from the frames. Using a permanent marker, number each door/ drawer inside the hinge hole and cover with a piece of Painter’s tape to make re-installation easy. Remove any existing knobs and handle, and then lay all doors and drawers on a flat surface to ensure easy paint application.

2. Clean & Degloss
The Cabinet Transformations Deglosser prepares the surface and allows proper adhesion of the Bond Coat. The Deglosser ELIMINATES the need to sand or prime the cabinets…YAY!
- Wearing gloves, apply Deglosser liberally on a scrub pad
- Scrub entire surface thoroughly to remove all dirt and grease
- Wipe down surfaces with a damp cloth to remove any trace of the Deglosser. If you see any soapy suds, continue to wipe with a damp cloth until gone
- Finally, wipe with a clean, dry cloth and ensure all surfaces are completely dry before applying the Bond Coat

Note: Since these cabinets have a metal handrail which I wanted to paint out the same “Winter Fog” colour as the doors, I applied a coat of Bulls Eye 1-2-3 spray primer to ensure maximum adhesion of the Bond Coat to the metal.

3. Installing Wood Shaker Trim
This step is optional. If you are not adding wood trim to your cabinet door fronts, proceed to next step.
- Measure the long sides of the cabinet doors, and cut 2” MDF trim pieces to length
- Apply a generous amount of construction adhesive to the back of the trim, and secure in place with wood clamps
- Using a pin nailer with 23 gauge pin nails, secure each piece in place, and be sure to wipe up any construction adhesive that may have squeezed out the sides
- Next, measure the width pieces to fit between the already installed lengths, cut to size, and install as previously noted
- Once construction adhesive is dry, remove clamps and use wood filler on the seams and edges
- Sand MDF trim surfaces smooth and wipe down doors from any dust and debris
- To ensure maximum adhesion of the Bond Coat to the MDF, it is recommended to add a light coat of Bulls Eye 1-2-3 spray primer


4. Apply Bond Coat
The Bond Coat is specially formulated to provide maximum adhesion to wood, laminate, and melamine surfaces.
- Thoroughly stir the can of Bond Coat with the stir sticks included in the kit
- Pour a small amount into a paint tray, and using a 2” synthetic paint brush, apply an even coat on all surfaces
- Allow to dry for 2-3 hours, and then apply a second coat


5. Apply Protective Top Coat
The Protective Top Coat provides superior stain and scratch resistance. It dries very quickly, so do not rebrush previously coated areas that have started to dry.
- Wearing gloves, thoroughly stir the Top Coat with the stir stick provided in the kit
- Using a 2” synthetic paint brush, apply an even layer of the Top Coat to all surfaces
- Only 1 coat is needed, and it will dry clear
- Allow to dry for 12 hours before reinstalling the cabinets


Want a quick project recap? Click HERE!
What do you think of my thrifty cabinet overhaul?
Next week, I’m tackling the countertops… so check back to see what frugal DIY solution I have you my sleeve! And stay tuned for the FULL PROJECT REVEAL in just a few short weeks!